Email with Magic Link
Magic links are particularly effective for frequent logins. They are sent at the beginning of each user session, providing one-time authentication. This feature is well-suited for products that necessitate intermittent or singular authentication, ensuring a seamless user experience.
If you're on a default plan, the default Email Provider will already be configured. If you have a Custom plan, ensure that you set up an Email Provider before proceeding with the steps below.
Here's the step-by-step process
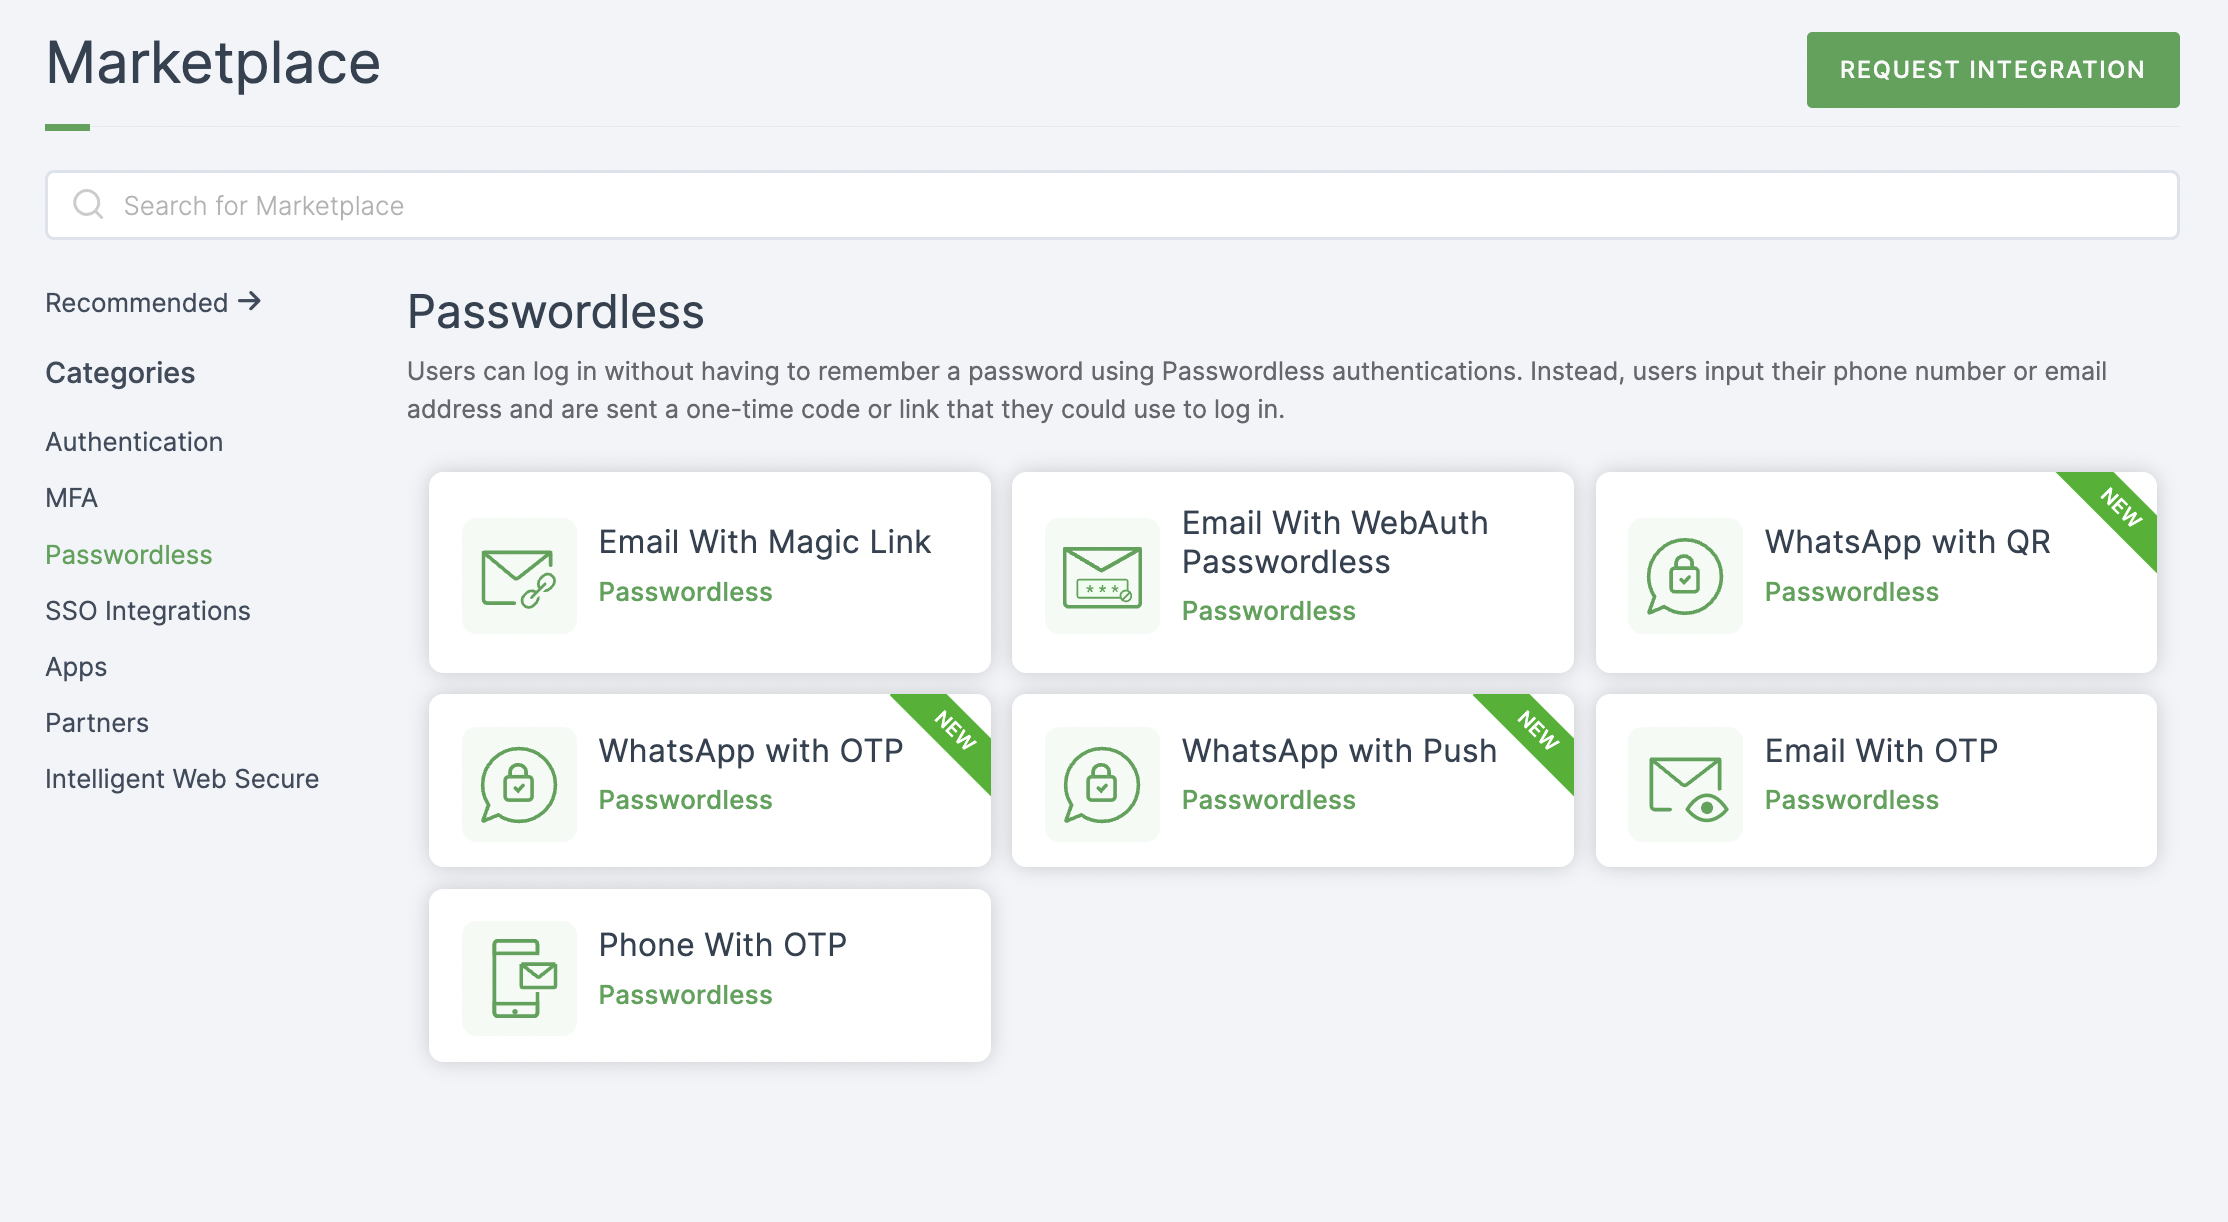
1 Go to Dashboard > Marketplace > Passwordless.

2 Select Email with Magic Link.
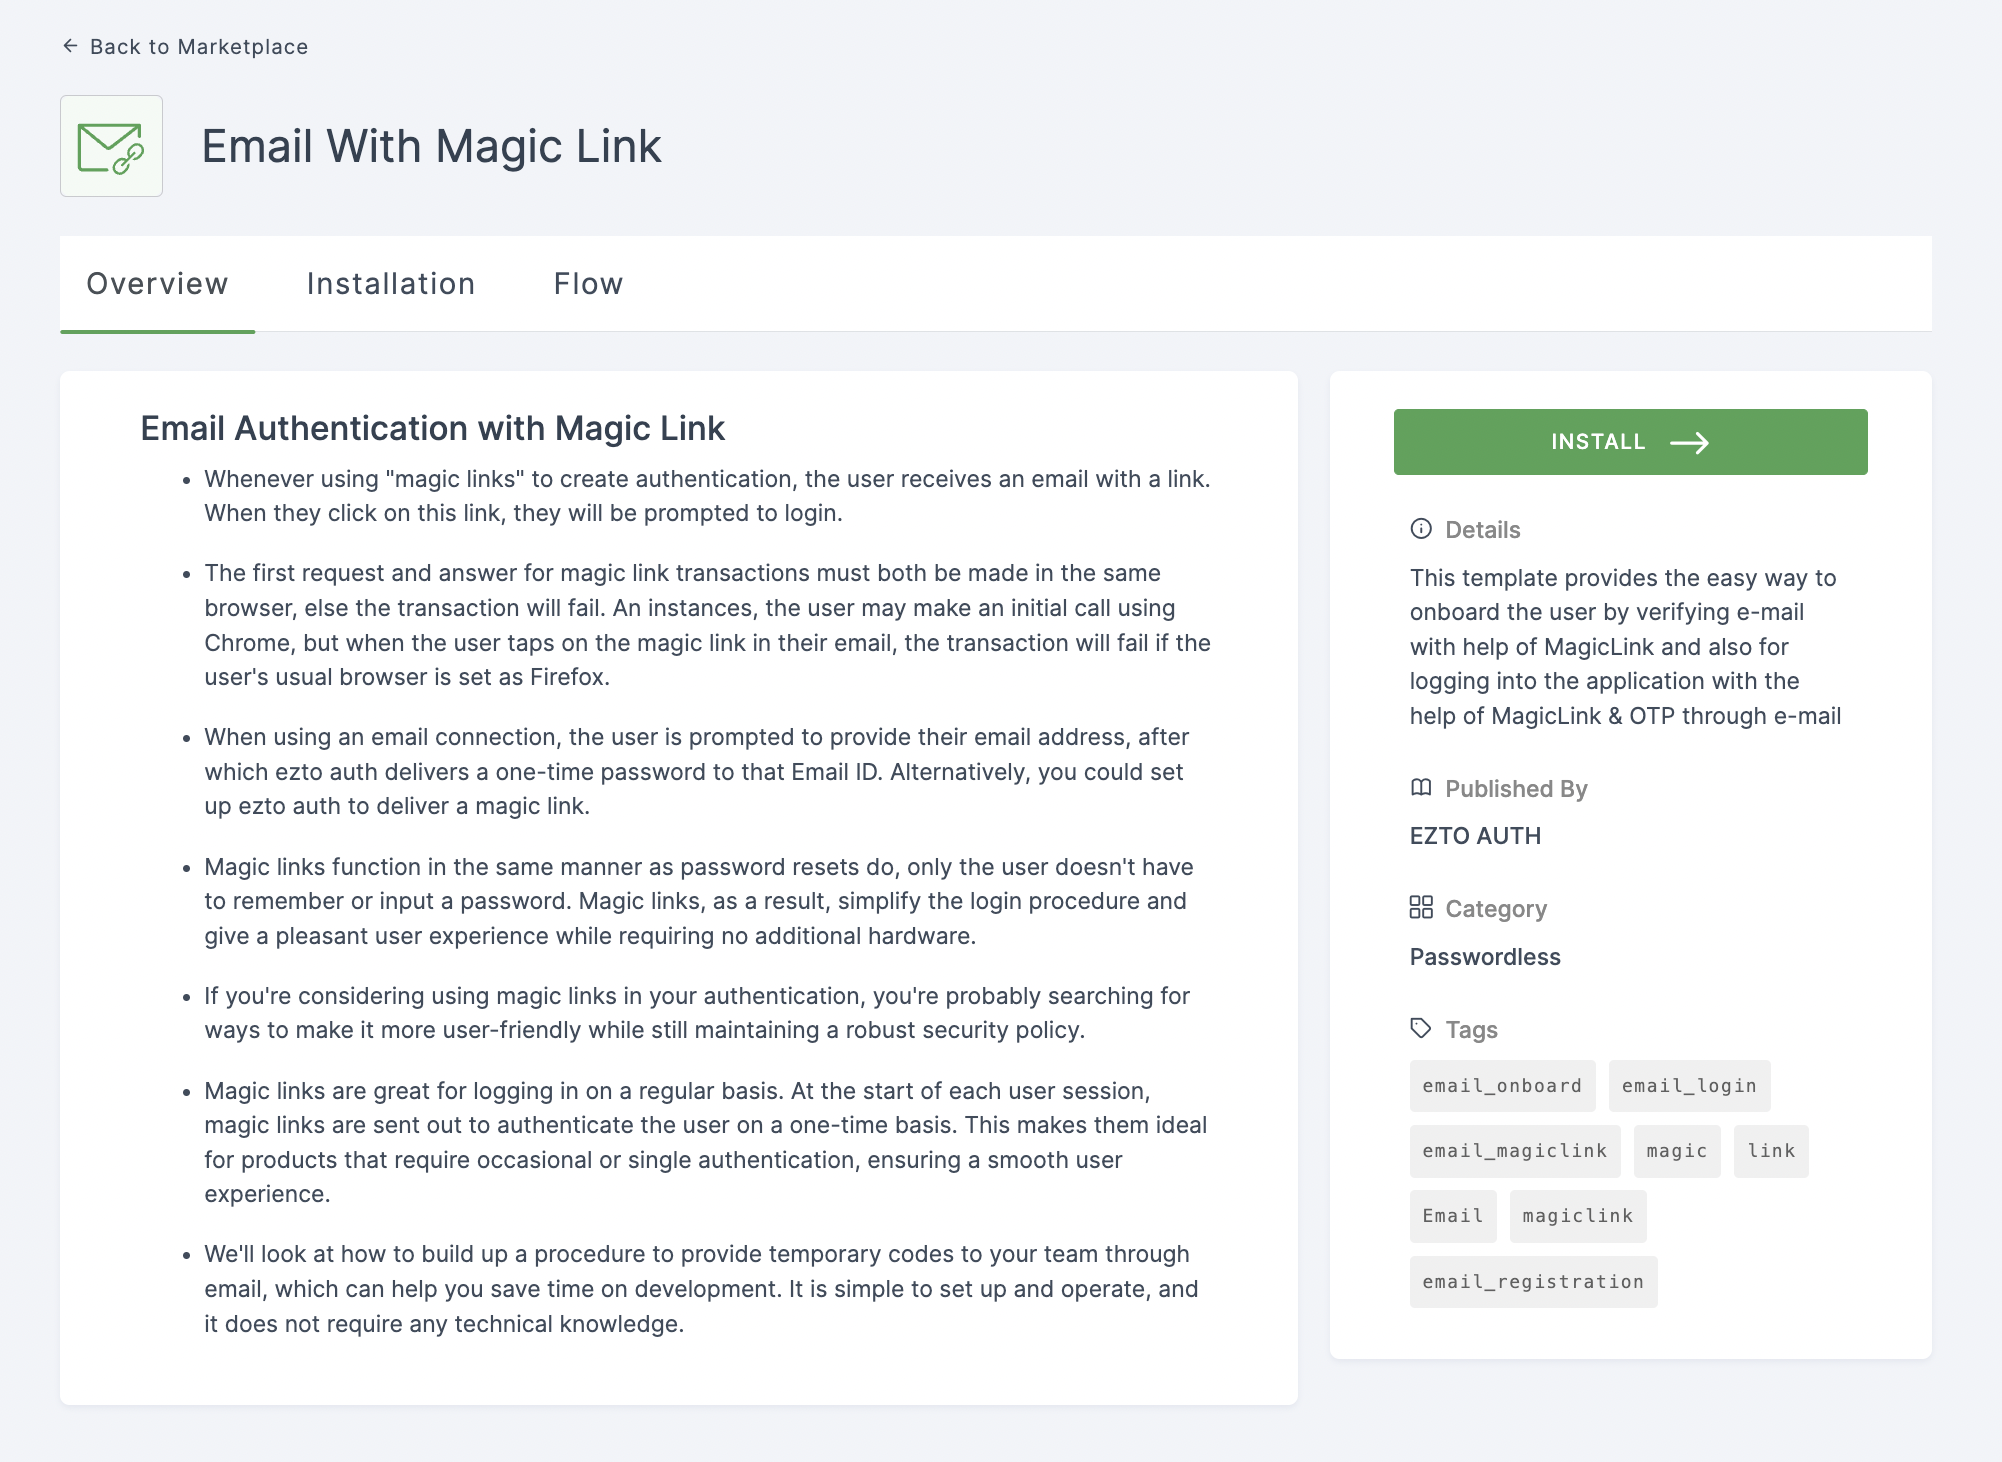
3 You'll land on the overview page, with two additional tabs: Installation (providing a step-by-step installation guide) and Flows (displaying the flow details).

4 Click on INSTALL.
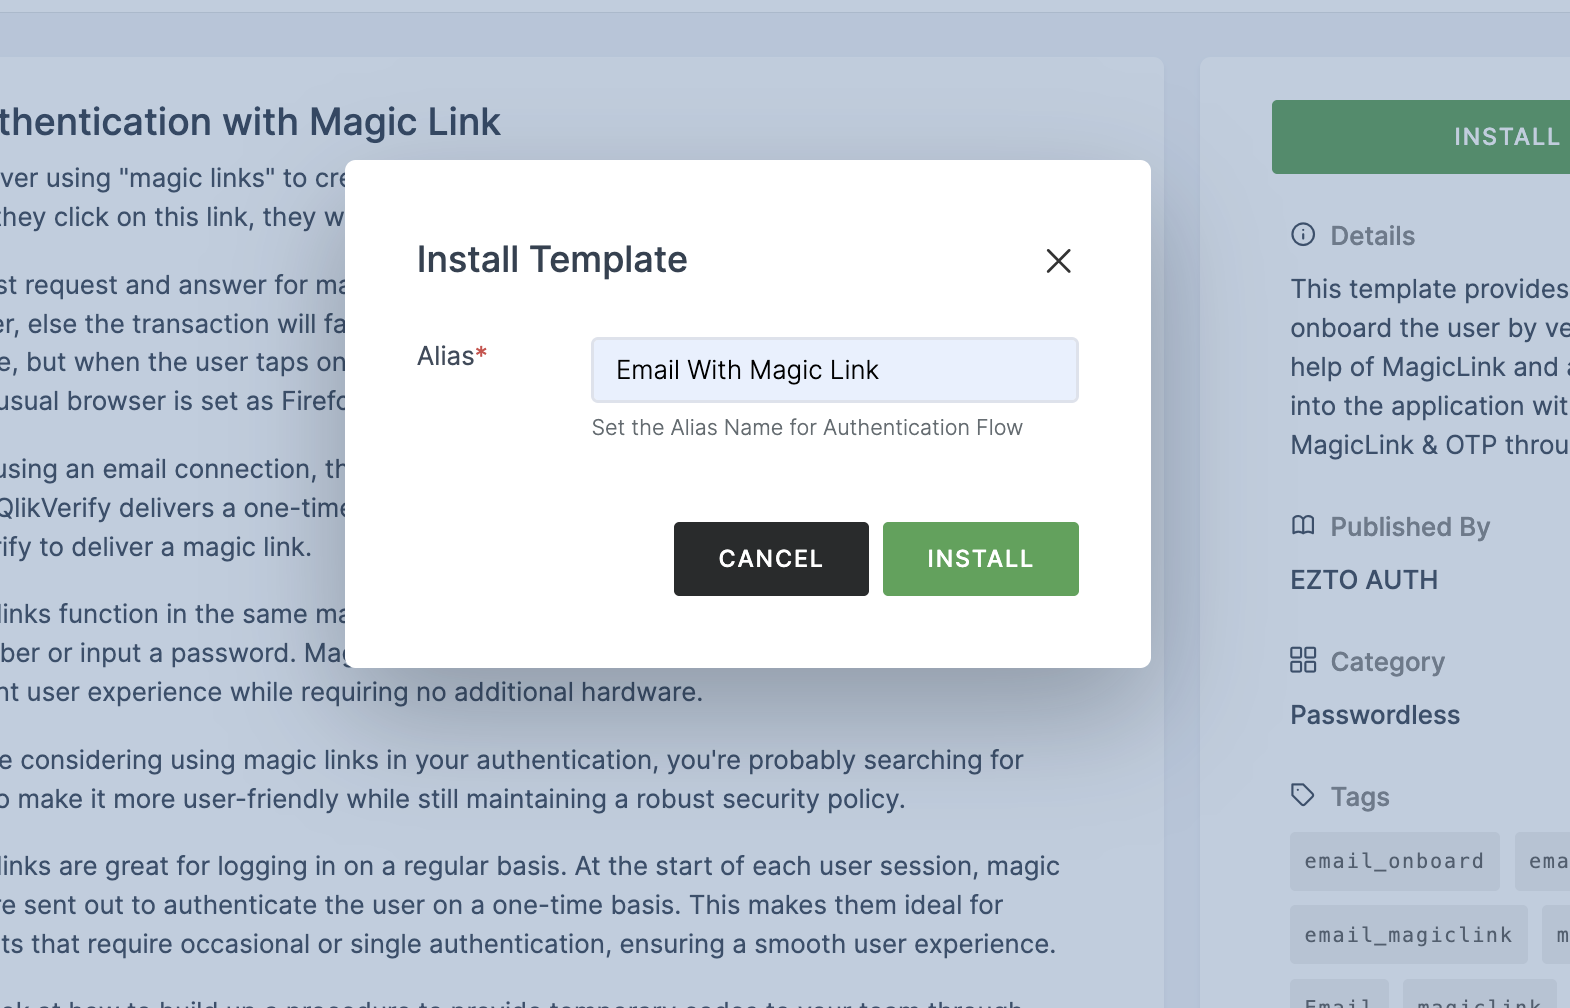
5 Provide a descriptive Alias Name for the Authentication Flow.

6 Click on INSTALL.
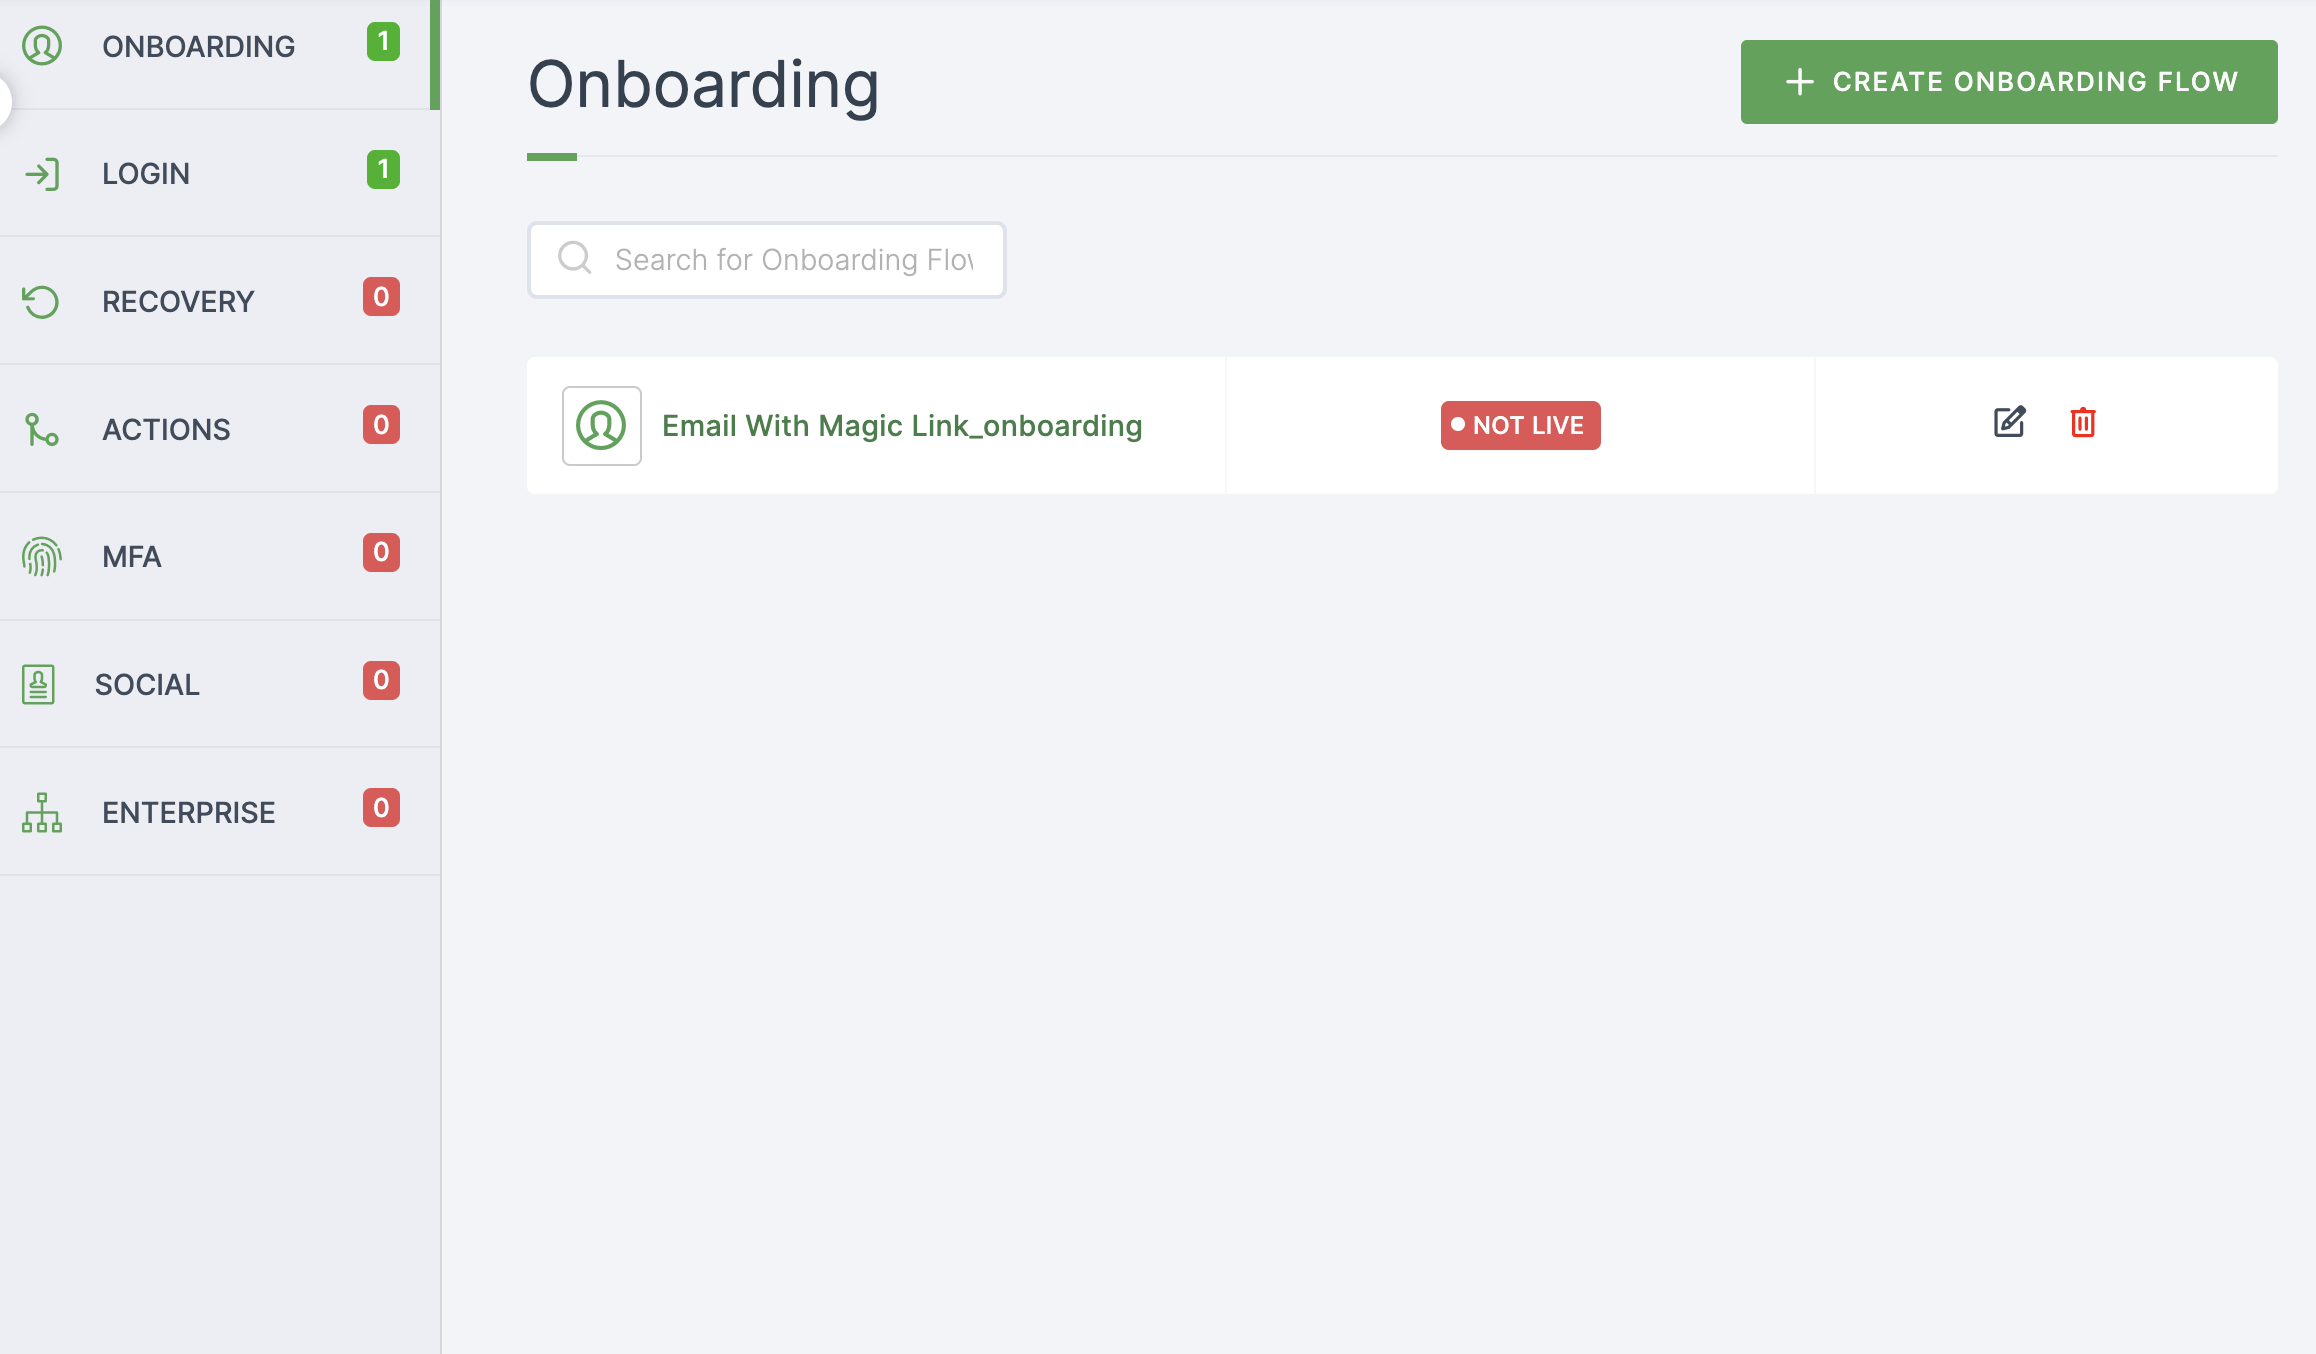
7 You'll be directed to the Onboarding page, where installed authentication flows can be seen.

8 To modify or add any authentication, click on the respective flow and adjust configurations for both Onboarding and Login.
9 Moving forward, the subsequent step involves associating the flow with the application for execution. If you're looking to understand how to attach an authenticator to an application, see here.
10 To learn how to execute an authentication flow, see here.